Adam Wollerton, design manager at Bathroom + Kitchen Eleven, explains the importance of a curated moodboard to encourage clients to commit to a purchase

As design manager at Bathroom + Kitchen Eleven, Surrey, I understand the significance of creating a moodboard for a client as part of their design process.
In fact, I’d go as far to say that today we are finding that clients commit to investing in a bathroom or kitchen purely off the back of a well-curated moodboard, alongside their 3D CAD presentation.
Sponsored Video
As a specialist in bathroom design, in the luxury sector, this article will discuss the steps I take to creating the perfect moodboard for your client.
Interactive design
Moodboards serve a design purpose, of course, and a huge one at that for us as designers, but they also create and establish a process for clients that becomes interactive, tactile, and enjoyable.
It allows us to demonstrate our capabilities as professional designers and turn bathroom or kitchen ‘shopping’ into an experience, and a valued important decision regarding investing in their home.
I am often asked about creating moodboards and my process behind them. For me, we are essentially creating a snapshot of a client’s bathroom/kitchen concept within a medium tile size – so 600mm x 600mm for example. It’s easily digestible and less overwhelming for clients that way.
And in doing so, it’s important to remember some key tips! Let me share these with you with specific reference to bathrooms, however, these key points are transferable to other areas of the home.
Remember, this moodboard will represent a whole bathroom, equally, I feel it’s important to emphasise the parts of a bathroom a client will make contact with.
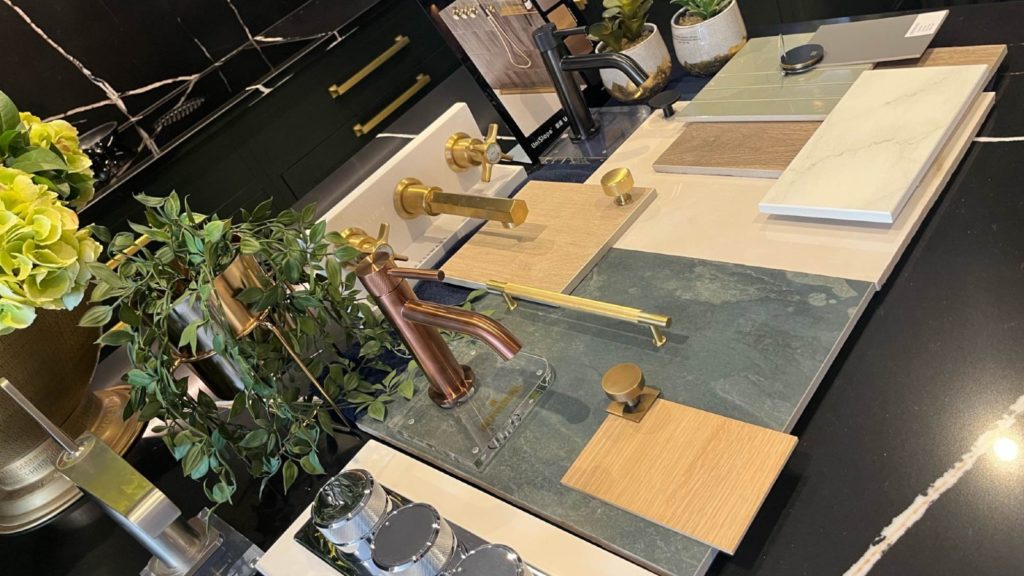
In my eyes, taps and showers should feature more than if the whole scheme were reduced in tandem as these items will be focused on and interacted with daily – and clients love the detail that goes into why we suggest certain handle shapes, or brands, or finishes. Trust me; they love the attention to detail.
So, how to build the perfect moodboard
Step One: The Tile Combination.
It starts with the tile combination for me, and this usually goes into paint tones, too.
Depending on the clients’ preferences alluded to during a consultation and site visit, I would suggest a combination of two or three tiles, depending on the space and on personal taste. I would set this as my base for the whole board.
The importance here is level. I don’t simply lay out the tiles side by side, we need to encourage clients to see these materials interacting.
So as a designer, challenge yourself to fit the samples within the 600mm x 600mm zone per scheme.
Lay your tiles over one another, stack them, offset them, lay them diagonally (stand some samples up (particularly if suggesting for a wall feature) – be creative.
Try to create what you will do in the room, on the table. E.g. if you’re showing herringbone tiles in a design, use diagonal lines to mimic this.
Step Two: Painted Zones.
Into this, I would then get my paint sample chart and begin matching a selection of tones (usually a light, mid, or darker tone) to assess clients desire for contrast.
Once the paint is in place, and so are your tiles, we’re onto furniture.

Step Three: Feature items.
In my professional opinion, I often find people love to make a feature of their bath or shower.
If you have a bath in your scheme, include a swatch of the bath material (whether its stone, or metal, or acrylic).
Add a paint sample, if you have opted to colour the exterior, as its a lovely way to encapsulate this feature piece.
If you have a shower, I always include a swatch of the shower tray to show texture and colour, the proposed glass finish (whether clear, fluted, grey tinted), and also the framing as this gives almost a mini-moodboard of what to expect for this feature of the bathroom.
Step Four: Furniture.
As likely one of the most used pieces in the room, I would give this prominence on a moodboard.
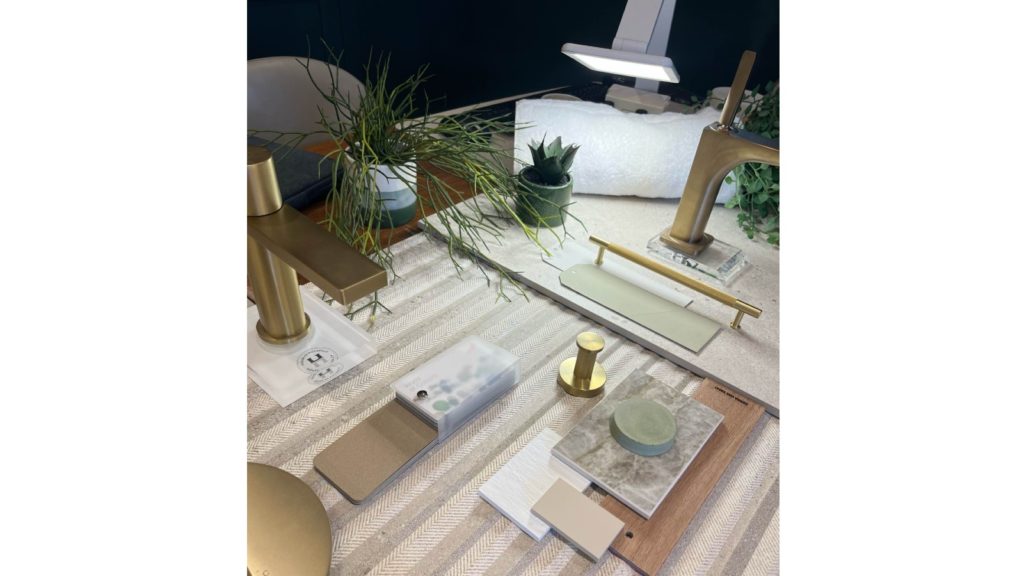
Betwixt the tile combination, you are suggesting, be sure to add in a nice swatch of the finish plus a sample of ceramic or quartz that tones beautifully with the furniture to represent the basin or worktop, and also handles – don’t forget the handles!
Clients love to pick up the items they will interact with in their bathroom and handles are so important.
Step Four: Radiators and Brassware.
Radiator or towel rail samples will follow that, toning in with the design scheme overall, and then I will select a range of taps (both shapes and finishes) that complement the concept.
This adds height, which gives the illusion of depth. We are creating a 3D environment for them not just using CAD, but also on the table in front of them.
Step Five: Homely touches
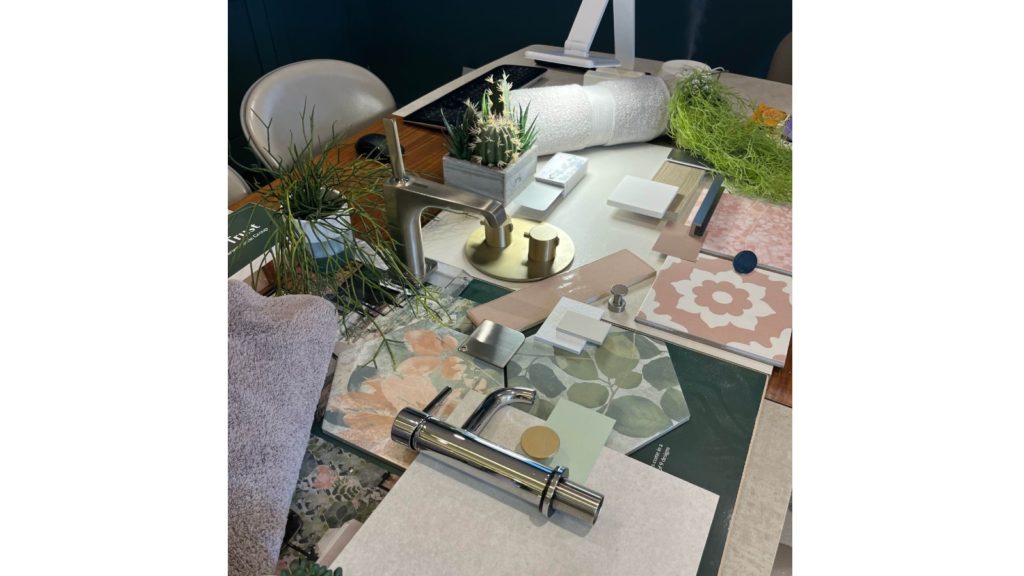
The final touches add the homeliness. We want to place the client in their own home. Select towels, candles, plants, smaller accessories that a client may find in their home.
And that’s it! When your client enters your design space to see their moodboard it will set their eyes alight with excitement.
And, along with a CAD design and your enthusiasm in your own moodboard as designers, the client won’t be able to wait to see how your moodboard translates to reality!
Credits: Tiles from Ca’ Pietra / Porcelanosa brassware from House of Piccadilly / Axor / Hansgrohe, furniture from Dansani, worktops from Dekton / Silestone, radiators from Zehnder and accessories from Origins Living
Sintered stone manufacturer Neolith has launched Calacatta Roma and Cappadocia Sunset, inspired by nature and classical architecture, and for use in kitchens or bathrooms walls, floors, in gardens or facades.
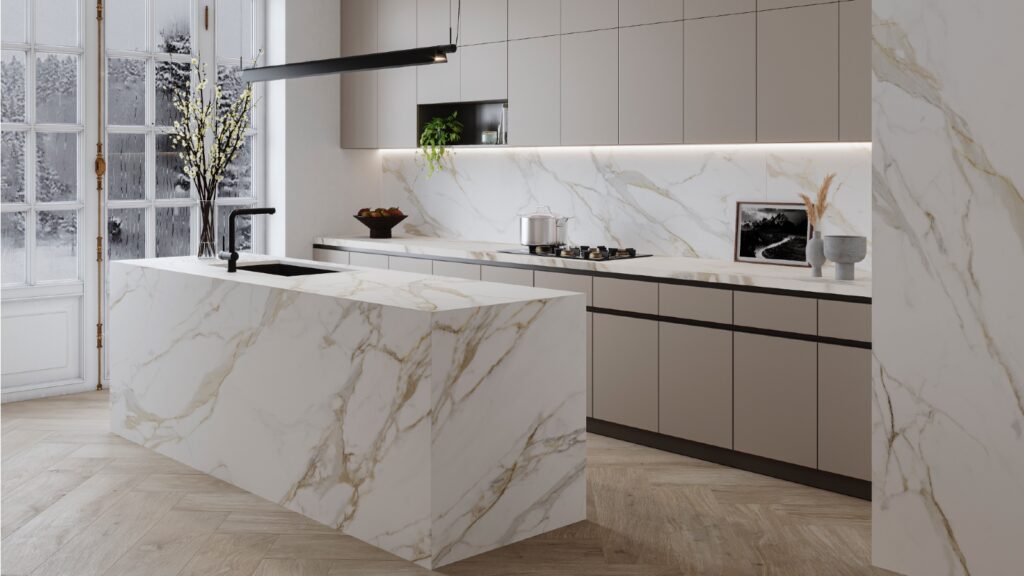
They belong to The New Classtone and Fusioncollections which interpret marble and natural stone, respectively, and boast Neolith’s antibacterial NeolEAT technology.
Inspired by Ancient Rome, Calacatta Roma (pictured top) pays homage to Italian Carrara marble, with ochre and grey veins in a white background.
While the Cappadocia region, in central Turkey, with its rock formations formed by volcanoes and underground cities, has inspired Cappadocia Sunset (pictured below).
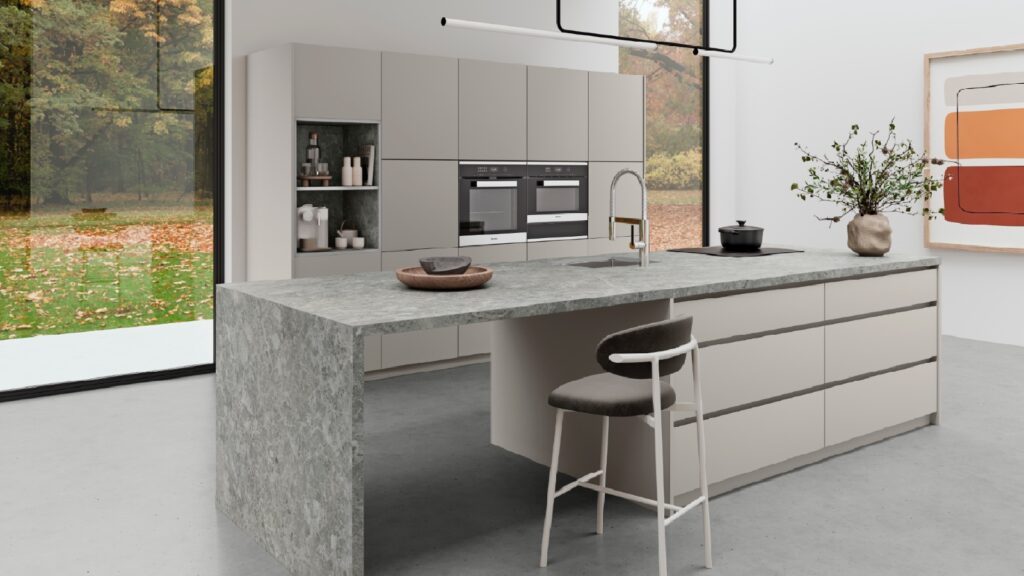
Just like all of Neolith’s surfaces, Calacatta Roma and Cappadocia Sunset are resistant to heat and atmospheric conditions, are 100% recyclable, and do not contain added quartz to their formulation.
Mar 14, 2024

JUST OUT: @AcquabellaBath has unveiled a choice of shower grate patterns for its Base and Arq shower trays… https://t.co/kMN83c40Qf
JUST OUT: @FrankeUK unveils Mythos single lever mixers in Swivel Spout and Pull-out Nozzle options. #kitchendesign https://t.co/TSKCAo5r0e
INTERVIEW: Sales and marketing director of @blumuk David Sanders on how the kitchen industry has changed post-pand… https://t.co/k9LIpUhhDF
NEWS: Challenging housing market is driving home improvements, finds new research by @HafeleUK #HomeImprovement… https://t.co/eMB7jludIm
NEWS: British manufacturer @kudosshowersltd acquired by European SanSwiss. #acquisition #manufacturers #bathrooms https://t.co/gpOv7jMevn
NEWS: @HafeleUK announces Richard Curtis as managing director. #newhire #appointment #leadership https://t.co/NP8U5ramOb
NEWS: @officialbikbbi names CT1 sealant manufacturer as corporate sponsor. #installation #installer https://t.co/8zsxs2HI3n
NEWS: @quookeruk named one of fastest-growing companies in North West. #business #Awards https://t.co/9zZ1ZDGrFI
RETAILER FOCUS: Managing director and design director of UK Kitchen Retailer of the Year @KitchensbyJSG Jim Geddes… https://t.co/JhL3vmxwbd
NEWS: Consumers are renovating for long term, with kitchens and bathrooms a priority, finds @HouzzUK… https://t.co/9VhoTUDI0B
PROFILE: Managing Director of Flair Showers Alan Wright talks about the relaunch of the company, creation of a Show… https://t.co/WDMPqDt2Uk
The new @blumuk carbon black LEGRABOX boasts beautifully slim drawer sides, bringing furniture onto trend, easily b… https://t.co/DrEXXWTyQb
NEWS: House of Fraser owner @FrasersGroupPLC enters strategic partnership with @ao, buying a stake in the online e… https://t.co/44N0O9bekn
NEWS: @HowdensJoinery awarded @WhichUK Best Buy for its rigid cabinets and handleless kitchens. #kitchen… https://t.co/rALz8XRHbv
NEWS: @grohe invites 800 guests from around the world to its Grohe X Professional event in Lisbon, Portugal.… https://t.co/2RGjDum980
JUST OUT: Home appliance brand Candy has unveiled the Rapido dishwasher, claimed to be the fastest and most spaciou… https://t.co/mbWn2pJp2C